Day 5
Shopbot
Notes:
Designing for milling
Due to tool radius inner corner of a hole or a pocket cant be sharp. Overmilling is advised in such cases.
Good design guidelines for milling.
http://blog.inventables.com/2014/06/learn-about-milling-inside-corner.html
http://www.efunda.com/processes/machining/mill_design.cfm
Better to use antimony to design material to be milled.
Dia max to be used for milling in shopbot- 6mm
Dia max to be used for milling in roland -3mm.
Assignment:
Slot comb to check pressfit combination.
When trying to pressfit object using jig saw kind of a configuration it is often required for us to experiment on different clearances that need to be employed in the design. I'll try to create a comb like structure having a slots of various thicknesses varying from the actual thickness of material to its thickness -0.4,-.2,+0.2 and +0.4. When tried to pressfit against thae actual material we get to know which fits good enough for our purpose. I'll try to use antimony to create the file and I'll try to make it parameterised, meaning that while changing some input values such as clearances and thickness I should be able to generate a comb structure for that specific values.
Design
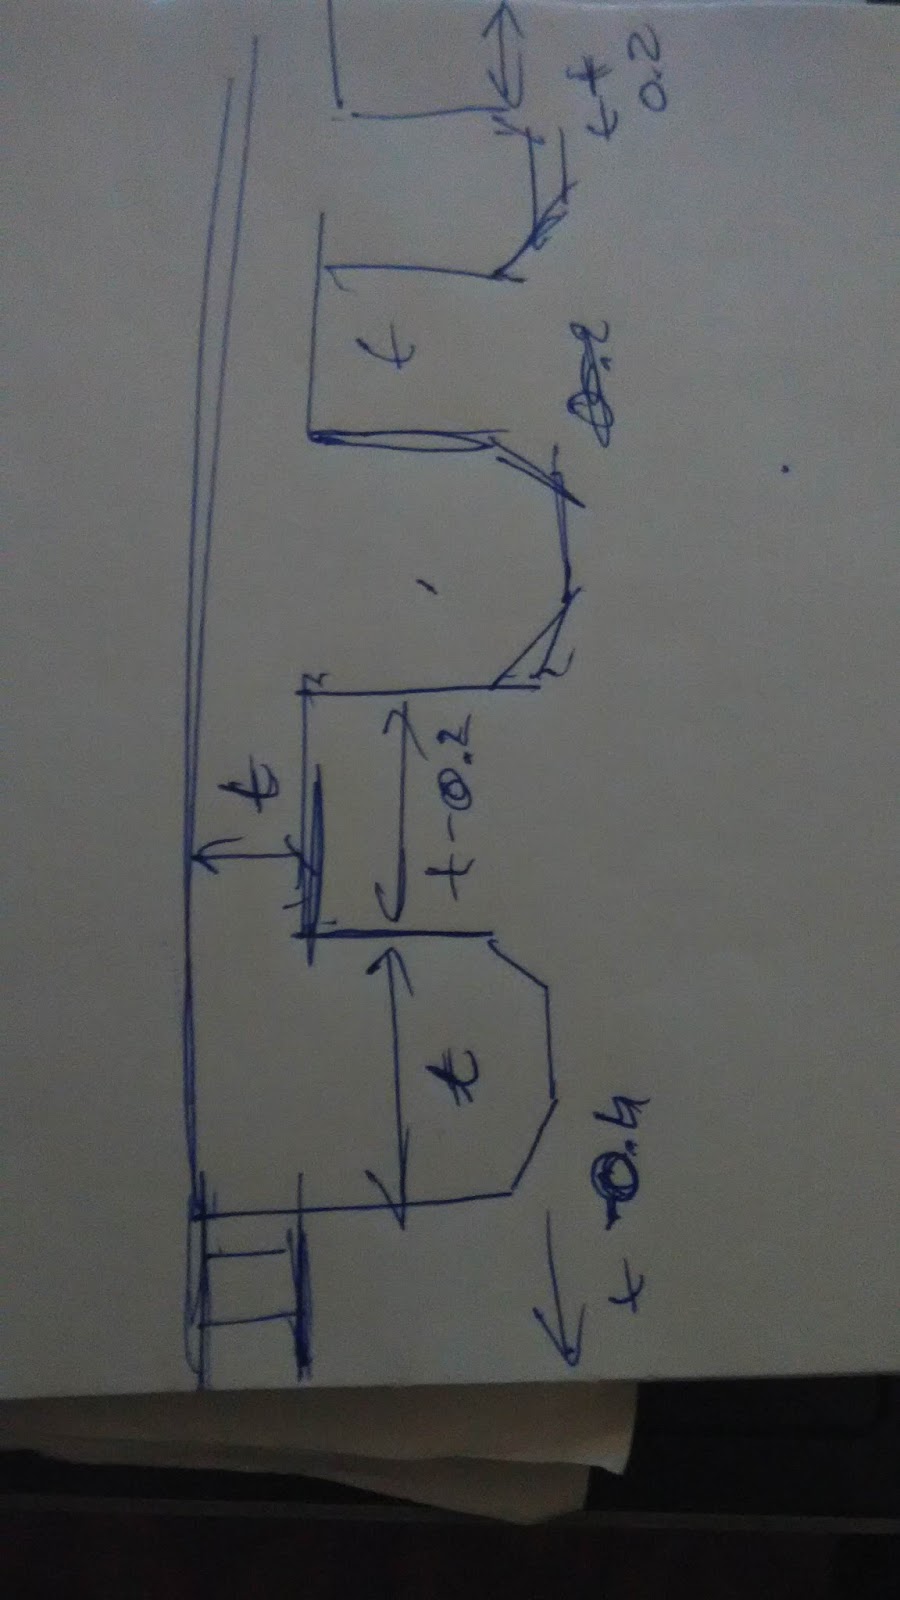
On paper
 Antimony

Output:
A png file generated from antimony for a sheet of thickness 4mm that can be used to create gcode in shopbot or cut in laser.

Product
Yet to cut in shopbot or laser and needs testing.
Conclusion:
Needs to be tested yet.
Download the files at
https://www.dropbox.com/s/gyzuonwyzcti7bu/4mmPC.png?dl=0
https://www.dropbox.com/s/6sya7nwmlw8y75r/comb2.sb?dl=0
Side note
Shopbot:
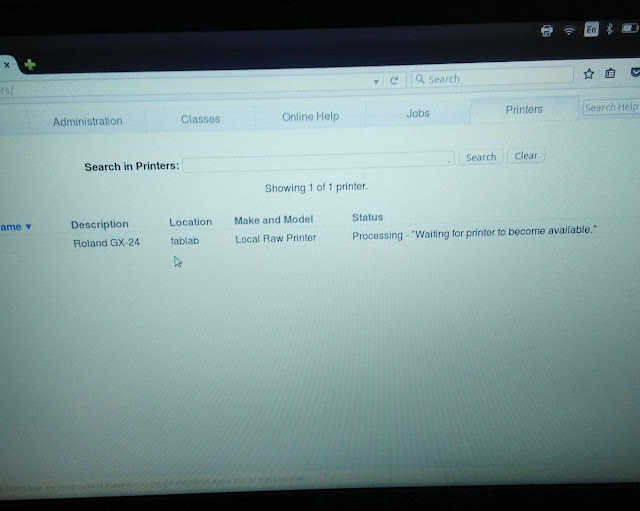
Me with Francisco tried check if the shoptbot was setup alright. We discovered that the shopbot wasnt stopping at the limit switch and the software was buggy and crashing with few repeated clicks on the jog buttons sometimes.
I want to change the units of the shopbot from inches to mm since we are used to the cm and mm units in India better.
Shopbot was having a huge jerk when stopping during a jog move. This too I wanted to change for a long time.
Update: Luciano helped out on this and now the units having been changed to mm. The speed and ramp settings having corrected for smooth functioning. Only thing pending is making the limit switches work. I will have to go through the shopbot manual or the shopbot editor setting and play around with it.
Shopbot
Notes:
Designing for milling
Due to tool radius inner corner of a hole or a pocket cant be sharp. Overmilling is advised in such cases.
Good design guidelines for milling.
http://blog.inventables.com/2014/06/learn-about-milling-inside-corner.html
http://www.efunda.com/processes/machining/mill_design.cfm
Better to use antimony to design material to be milled.
Dia max to be used for milling in shopbot- 6mm
Dia max to be used for milling in roland -3mm.
Assignment:
Slot comb to check pressfit combination.
When trying to pressfit object using jig saw kind of a configuration it is often required for us to experiment on different clearances that need to be employed in the design. I'll try to create a comb like structure having a slots of various thicknesses varying from the actual thickness of material to its thickness -0.4,-.2,+0.2 and +0.4. When tried to pressfit against thae actual material we get to know which fits good enough for our purpose. I'll try to use antimony to create the file and I'll try to make it parameterised, meaning that while changing some input values such as clearances and thickness I should be able to generate a comb structure for that specific values.
Design
On paper
Output:
A png file generated from antimony for a sheet of thickness 4mm that can be used to create gcode in shopbot or cut in laser.

Product
Yet to cut in shopbot or laser and needs testing.
Conclusion:
Needs to be tested yet.
Download the files at
https://www.dropbox.com/s/gyzuonwyzcti7bu/4mmPC.png?dl=0
https://www.dropbox.com/s/6sya7nwmlw8y75r/comb2.sb?dl=0
Side note
Shopbot:
Me with Francisco tried check if the shoptbot was setup alright. We discovered that the shopbot wasnt stopping at the limit switch and the software was buggy and crashing with few repeated clicks on the jog buttons sometimes.
I want to change the units of the shopbot from inches to mm since we are used to the cm and mm units in India better.
Shopbot was having a huge jerk when stopping during a jog move. This too I wanted to change for a long time.
Update: Luciano helped out on this and now the units having been changed to mm. The speed and ramp settings having corrected for smooth functioning. Only thing pending is making the limit switches work. I will have to go through the shopbot manual or the shopbot editor setting and play around with it.